Showing posts with label chocolate. Show all posts

Friday, December 28, 2012

Peanut Butter Balls

This is a recipe you often see at Christmas time, but I make an amendment this be an all year round treat :) Peanut butter balls are sweet and savory morsels of awesomeness! You maybe able to tell that I love chocolate and peanut butter by this point.
When searching for recipe variations online I noticed that most called for some portion of butter to be added to the recipe, I recommend not using dairy butter; simply using Peter Pan creamy peanut butter adds enough moisture. We opt not to use butter because the fat separates from the mixture and seeps out of any holes or sealed weak spots in the chocolate coating. Our family recipe is super simple and delicious.
 
Simple Peanut Butter Balls
Makes Approximatley 150+
There is not an exact recipe for our treats, but we start out with:
1 Jar of Peter Pan Peanut Butter (28 oz. jar)
2 Pounds of Powdered Sugar (1 Bag or 2 Boxes)
2 Containers of Chocolate Candy Coating or Almond Bark
1/2 Bag White Chocolate Chips (Optional)
 
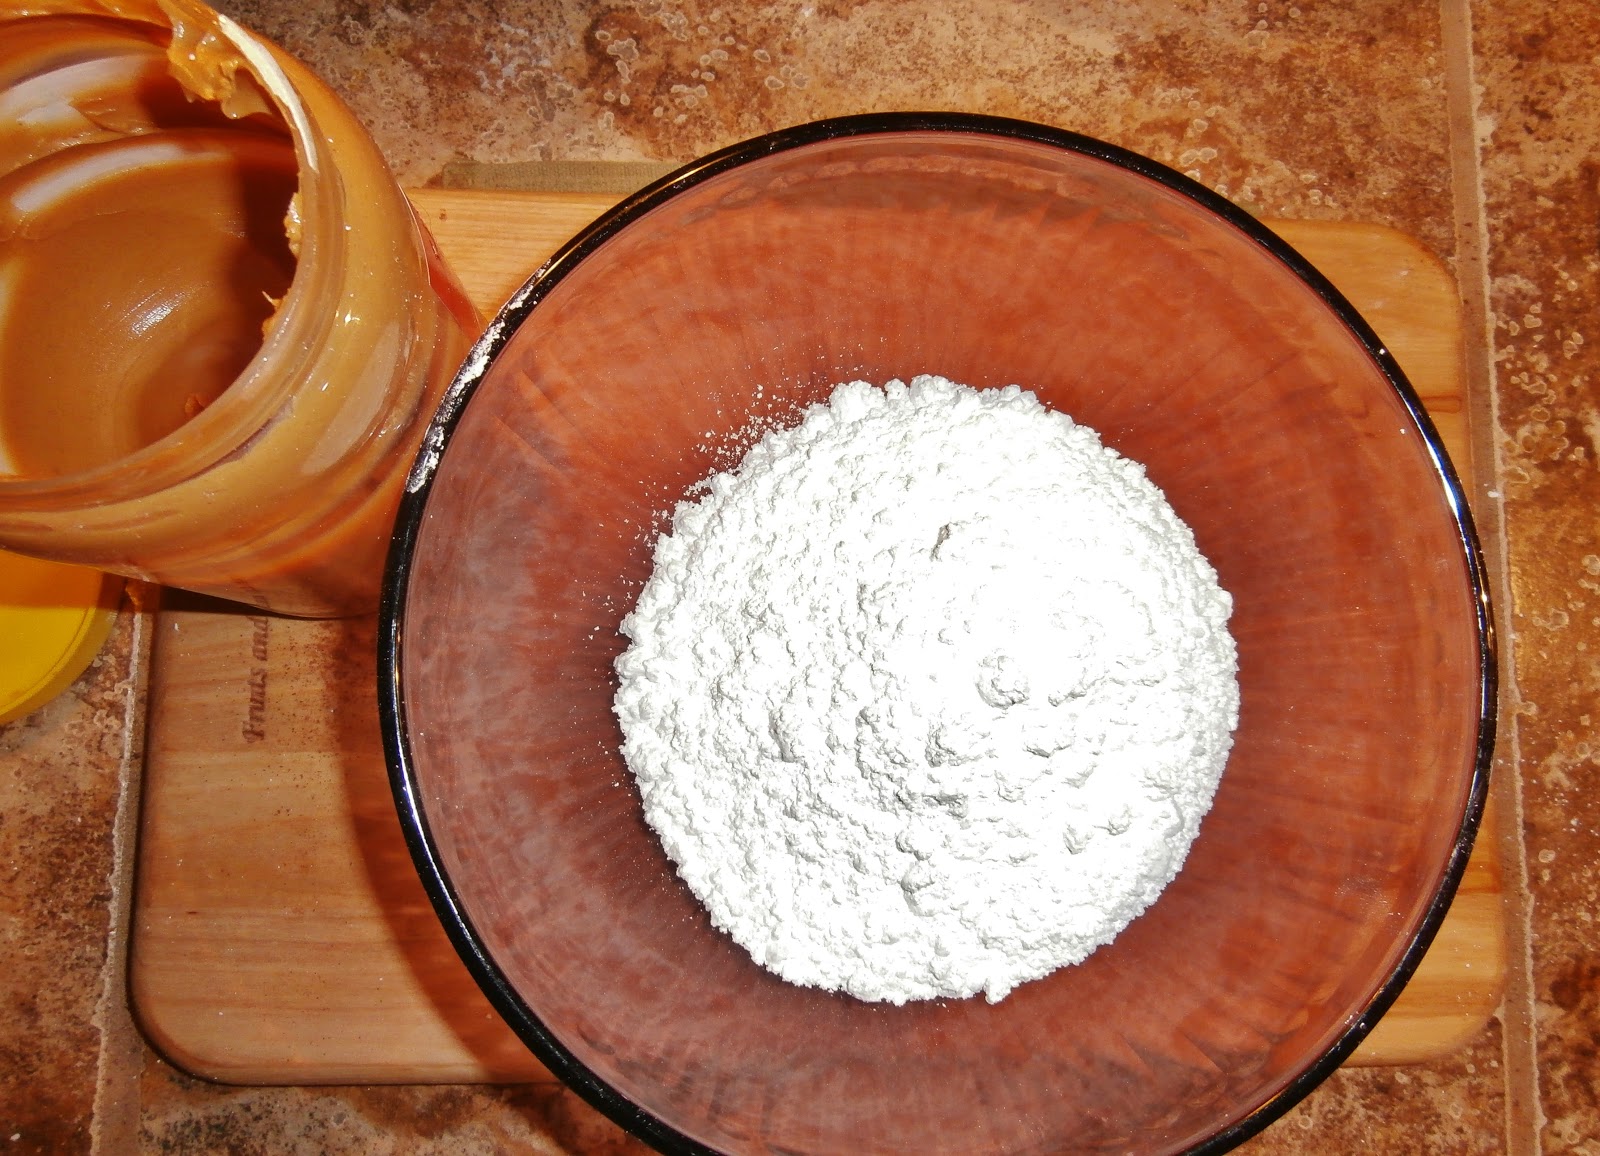
1. Empty the entire jar of peanut butter into a large glass bowl, the heavy weight of the bowl helps it stay in place when mixing ingredients. Begin melting chocolate in double boiler.
2. Start with three cups of powdered sugar, incorporate into the peanut butter. Gradually add one cup of peanut butter until the dough is no longer sticky and has a firm texture. You will have to mix with your hands near the end of the process, when adding more sugar simple knead it in by hand.
3. Roll mix into tablespoon sized balls, place on a waxed paper lined baking sheet. Place the full tray into the freezer until firm, approximately 15 minutes.
4. Remove a small portion of the frozen peanut butter spheres from the freezer, dip into melted chocolate, and place on wax paper to set up. Do not remove all the spheres at once because they may become too soft to dip into melted chocolate.
5. When all spheres have been dipped into chocolate and hardened you can decorate them with melted white chocolate. Melt chocolate chips in a microwave safe bowl, set microwave to 50% power for 1 minute at a time and mix each time. Pour melted chocolate into resealable baggie and cut a very small portion of one corner of the bag. Drizzle chocolate over peanut butter balls for a decorative touch.


Wednesday, December 19, 2012

Caroling & Chocolate Covered Chips

Tonight our church went caroling and warmed up drinking hot cocoa then cooled back down by going to Dairy Queen (quite a conundrum, huh?) Since I'm cold and it's late I'll post a simple little gem I've been saving from when we had some chocolate left in the double boiler: chocolate covered chips. You'll notice from reading my recipe posts I'm on a salty-sweet kick now, well since always :) If you plan on melting any chocolate, grab a couple chips and wax paper.

Chocolate Covered Chips:
1 Bag Chips (Munchos were used for testing)
1/2 Bar Almond Bark Chocolate
Wax Paper

1. Melt your chocolate down in a double boiler or microwave of medium for 30 seconds at a time watching the chocolate carefully and stirring each time.
2. Dip one side of chips into chocolate allowing the excess to drip off the chip. Place on waxed paper. Allow to cool and enjoy.

Simple enough!?!

 
Yummy!

Monday, December 17, 2012

Moose Track Pretzels

When you get on Pinterest there is usually one pin that everyone is pinning, currently it is Rolo Pretzel Turtles. When I saw this pin over and over I decided to mix it up slightly by using walnuts instead of pecans, which were used with the Rolos pictured below, and create Moose Track Pretzels. I am on a big salty sweet crave right now, so a mixture of chocolate/peanut butter/pretzel would satisfy such a craving.
 
Moose Track Pretzels:
Will make approx. 60 treats
 
Ingredients:
1/4 Bag Square Pretzels (Snyder's of Hanover Butter Snap Pretzels)
1 Bag Resealable Reese's Mini Cups (the smallest cups their are) 
1 Cup Honey Roasted Peanuts
 
Equipment:
Baking Sheet
Parchment Paper
 
1. Preheat oven to 350 degrees Fahrenheit.
2. Spread pretzels onto baking sheet covered in parchment paper, trust me you'll need the parchment, and organize anyway you like. Discard any broken pretzels, well by eating them.
3. Place mini peanut butter in the center of pretzels.
4. Place treats into preheated oven for approximately 3-5 minutes. When making rolo treats do not place them on the same baking sheet since rolos take longer to melt.
5. When the peanut butter cups are slightly melted to the point of being soft, place peanuts onto of the chocolates and press inward to spread out the melted candy and cover the pretzel.
6. Allow to cool completely, then they are ready to enjoy or give away as Christmas treats.


Rolos for walnut rolo treats.

What a waste of time unwrapping each candy when you can use unwrapped peanut butter cups!
 
 
Peanut butter cups are at the top, this is where I learned not to combine rolo with peanut butter cups.


Yummy! Enjoy!


~~~

Tuesday, December 11, 2012

Homemade Peanut Butter Cups


You see the commercial about how chocolate and peanut butter are the perfect pair: they're right! Chocolate adds a sweetness that nearly no one can turn down while peanut butter adds a toasty salty note, YUM! These cups make great Christmas gifts when bagged in cellophane bags and tied off with pretty ribbon.
 
Peanut Butter Cups
1 Cup Powdered Sugar
1 Cup Creamy Peanut Butter (Peter Pan: Creamy)
1 Stick Butter, Melted
1 1/2 Bars Chocolate Almond Bark
Candy, Sprinkles, or Edible Glitter (Optional)
 
Instructions:
1. Fill a double boiler with water until it reaches the bottom of the insert pot. If you don't have a double boiler set a glass bowl on top of a pot with boiling water barely reaching the bowl to prevent pressure from pushing the bowl up. Set the heat to high until it reaches a boil, reduce to low and allow to simmer.
2. Mix powdered sugar, peanut butter, and melted butter. Mix until combined adding powdered sugar if the mix is much too sticky, light stickiness is okay. Set bowl into fridge for a few minutes until it is completely chilled.
3. Using a mini muffin pan pour about 1 teaspoon of melted chocolate into each cup. Lightly shake pan to even out the chocolate, filling in spaces with extra chocolate. Allow chocolate to set up and harden.
4. Remove chilled peanut butter mixture from fridge. Roll teaspoon sized balls out with palms and place onto a baking sheet. When all the mix is rolled out place the baking sheet into the fridge to re harden, this prevents the butter from melting completely when the hot chocolate is poured over.
5. Place re-hardened peanut butter ball onto chocolate in the muffin pans. Cover with chocolate until completely covered and level. Gently shift the pan back and forth to level the chocolate topping.
6. Optional- sprinkle small candies or sprinkles on to the melted tops of the cups.
7. Insert finished muffin pans into fridge to set the chocolate quickly.
8. When cups are completely hardened invert pan onto a counter top lined with parchment paper or aluminum foil.


If a portion is exposed use a toothpick dipped into chocolate and dab chocolate to reseal. 

YUMMY!!!
 
~~~
“I am entering this Homemade Peanut Butter Cups in the Creative Holiday Recipe Contest hosted by Confessions of a Cookbook Queen and Cookies and Cups!“
 

Tuesday, November 27, 2012

I'm Back.... At Least for the Moment (Red Velvet Whoopie Pies & New Frosting)

With life moving full throttle I've remembered that I do indeed have a blog and would love to start working on it again. Since Christmas is right around the corner I want to post some crafts, food, and other goodies to help inspire your celebration of Jesus Christ's birthday. I'll start today's post with my experience making 'Woman's Day' magazine Red Velvet Whoopie Pies. These whoopie pies were fun to make and impressed my family big time. They are also an acquired texture kind of treat: part cake, part cookie, and no pie *hmm.*

I've always wanted to try one of these Northern treats or Amish treats as you may want to refer to them: whoopie pies. I baked the above recipe (in the link) for our first potluck Thanksgiving last Sunday. First piece of advice, follow direction order; out of my tendencies to mix it all at once I caused a mix mess. Trying to mix red food coloring into a very stiff dough will ruin your clothes, thankfully (going with Thanksgiving here) they were just lounging clothes. Second, do not bake until the maximum time, the pies crack and and form an almost crunchy shell. Third, when using cream cheese frosting serve the pies within two hours of cooking to be on the safest side, but the sugars in the marshmallow fluff should inhibit bacteria- preventing spoiling. Fourth, use a small ice cream scoop to make even portions of pie halves; they look more uniform and are easy to mate up when frosting.  Fifth, enjoy... they're delicious and rich little treats.


~~~
 
 
We had a second Thanksgiving on the actual day, this time I want to rave about the new coolwhip frosting. I used one tub, which was not enough, to decorate a festive carrot cake. Advice: by more than one container, when coloring only use icing gels or powder to prevent 'icing' from melting, and do not over mix which will break up the air bubbles.
 
The carrot cake pictured is iced using the cream cheese flavored icing, the orange band down the middle was a scattered improvising of standard canned cream cheese frosting, like I mentioned there is not enough frosting in the tubs, but it is so scrumptious!!!


~~~
Shared with Farm Girl Friday